Making a conspiracy map as a part of my Gravity Falls/Dipper Pines costume. This is based on the map seen in the episode “Irrational Treasure” which is taken from Journal #3 and subsequently crafted into a rather fetching hat.
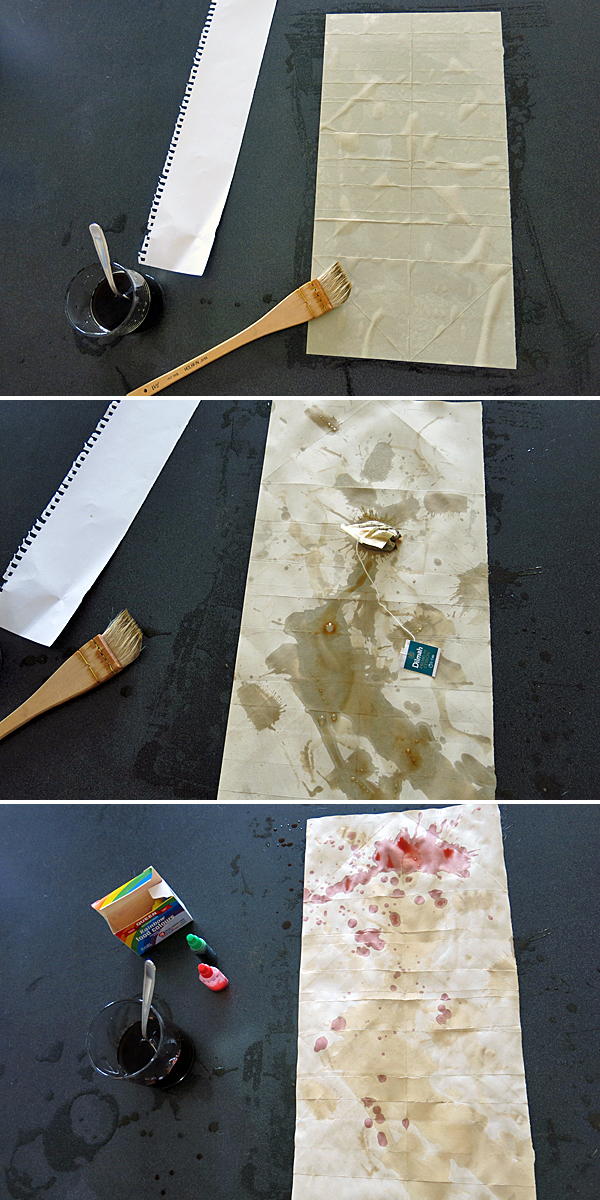
The page is 21cm wide by 42cm tall.
To begin, both sides were brushed with instant coffee and then ironed dry.
Ironing helps to keep the page flat, where waiting it out or implementing some form of heat-gun (read: hair-dryer) may cause the page to curl.
When that was dry a teabag was dipped into the coffee and used to drip and splat some deeper discolouration to the page. Then ironed dry again, after which a lot of red and one or two drops of green food dye were mixed into the coffee/tea and dripped onto the page before, you guessed it, being ironed dry again.
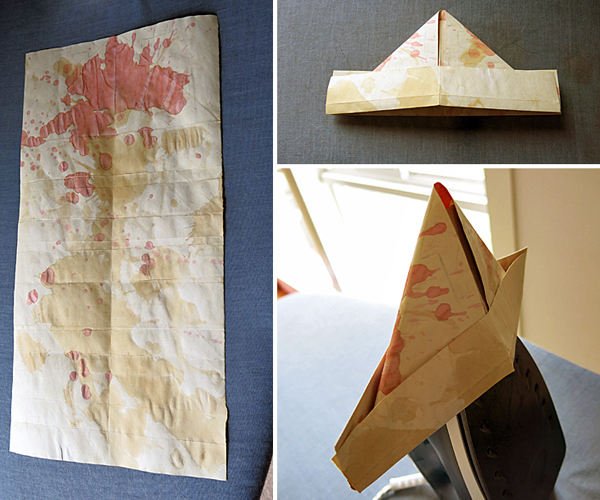
Thorough drying between each layer of stains and discolouration prevents them from blending together into one big mess. Tea and coffee makes it smell good.
Then it was fashioned into a stylish hat.
Some liberties were taken with the size dimensions, which in turn led to a couple more being taken with the positioning of the designs on the page.
While it looks to be folded in the usual way you’d expect for a basic paper hat, I was unable to get that method to work in a way that was coherent with the design of the map. Maybe I just wasn’t trying hard enough, maybe this is an example of cartoons not translating effectively into the real world. Either way, I tried to keep things as close as possible to the original design while still maintaining a capacity for headwear.
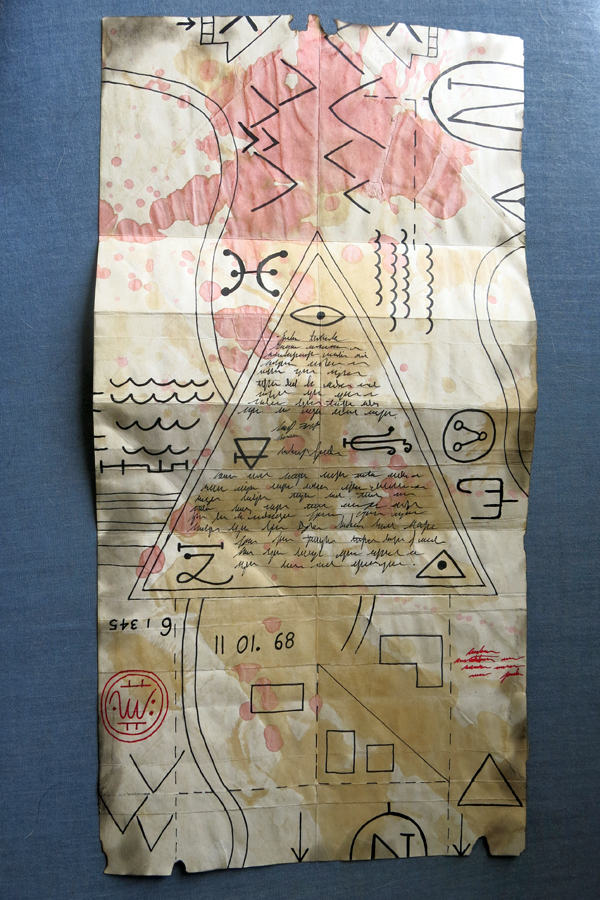
Part of me wonders if the red stains are blood. The same part also questions how much blood is allowed in G rated programming, but Gravity Falls might be PG I’m not 100% sure there, they show blood in a few episodes, nothing gratuitous, just like… minor cuts and nose bleeds and the like, normal kid stuff.
If you can make sense of the following images and step-by-step gibberish, then you too can have a map-hat as fashion-forward as this:
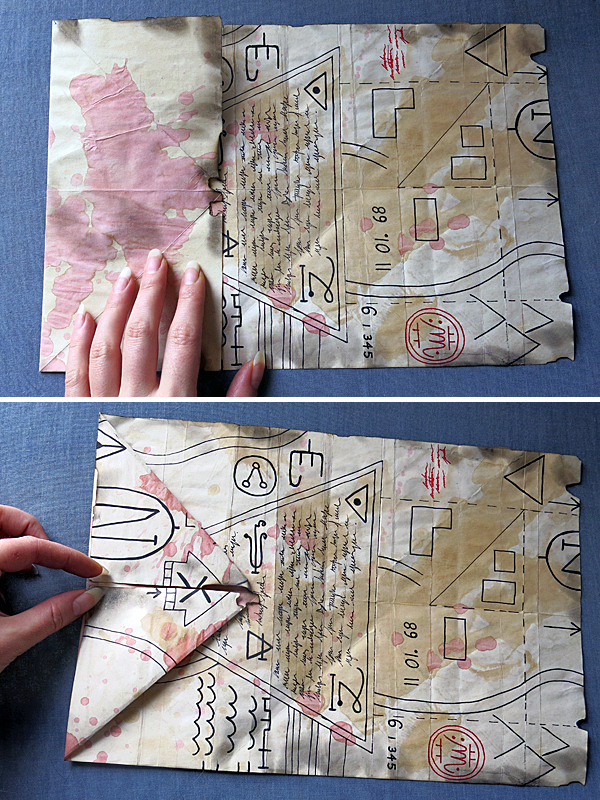
Fold the top back, then pull the corners into a triangle.
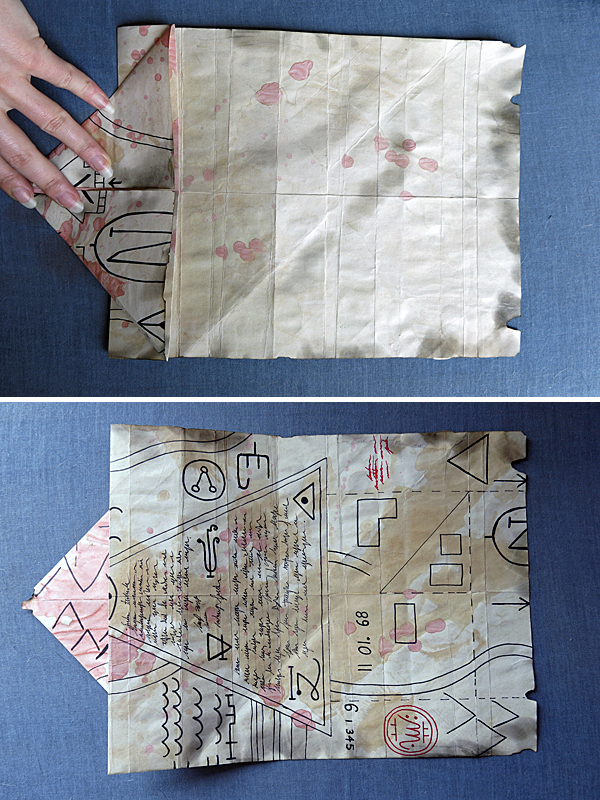
Fold the rest of the paper down from the triangle. Except for that one section which is the brim of the hat. We’ll call it an inch, but I didn’t actually measure, nor do I intend to.
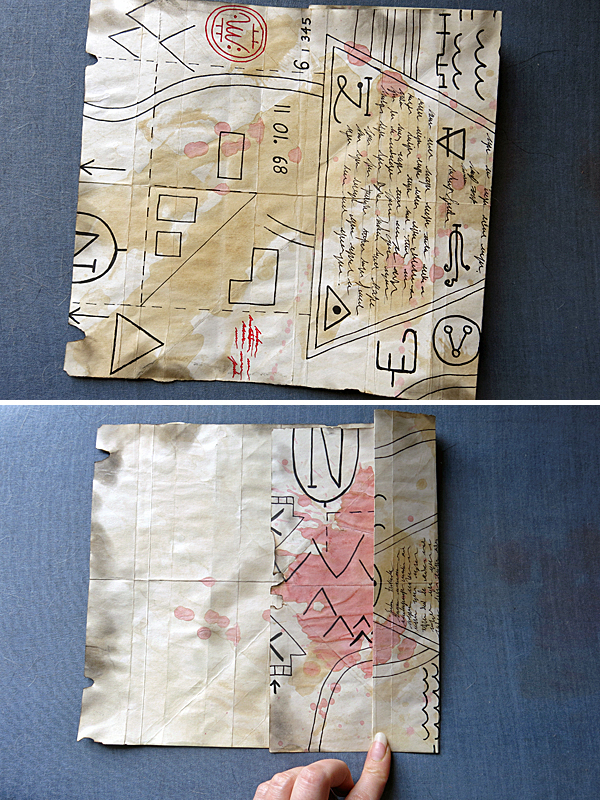
Unfold the triangle and fold the rest of the map up into that section.
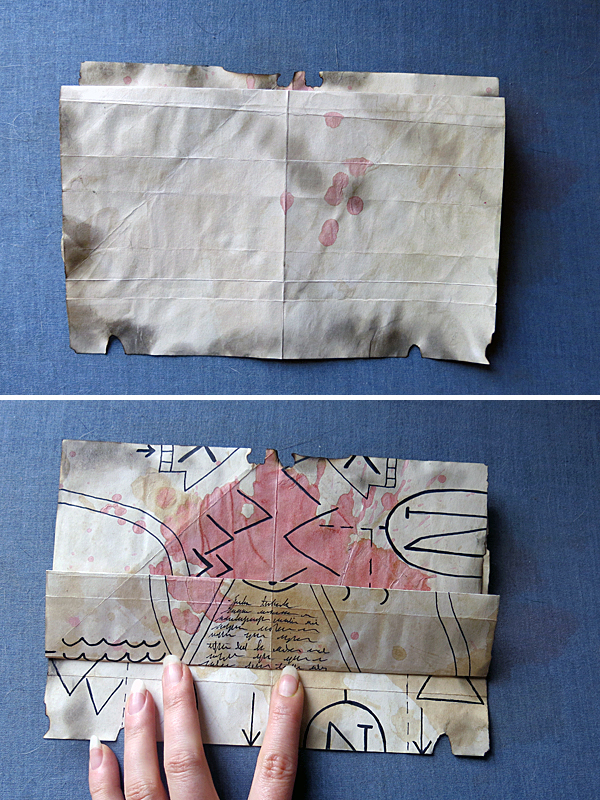
It should have images on one side and be blank on the other. The folded brim will be on the image side, with enough from the back hanging down to complete the brim on the blank side.
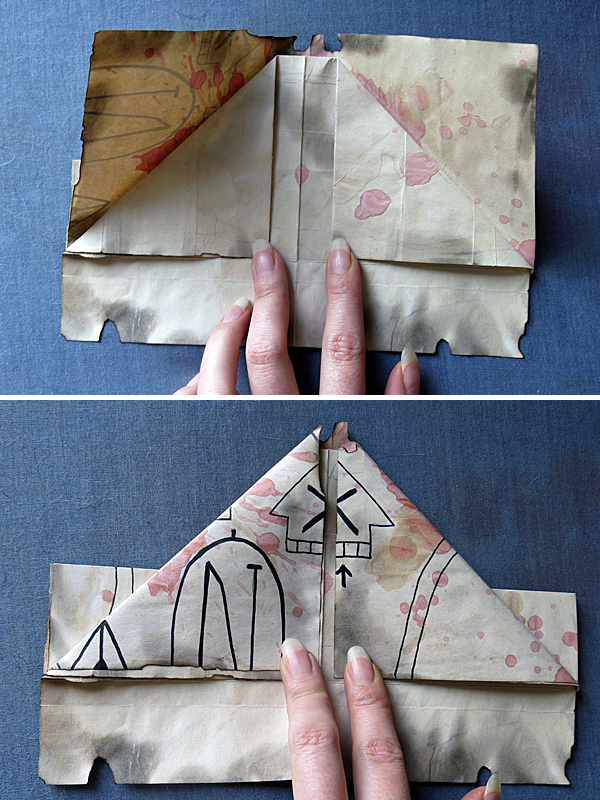
On the blank side, fold the inner corners down into two triangles. Then bring down the outer corners. Remember the triangle from earlier? It is back with reinforcements!
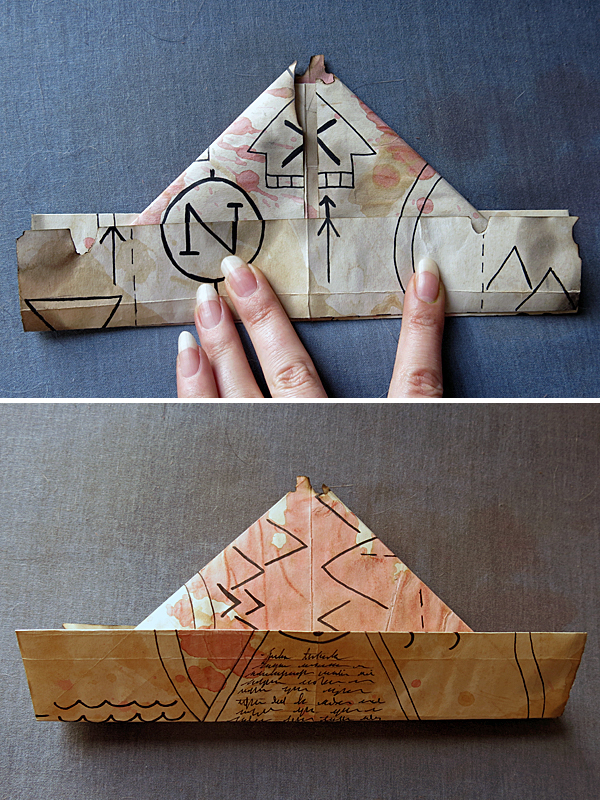
Then fold up the brim and you have an impractical paper hat with a bunch of drawings on it. Give yourself a pat on the back and don’t let anybody question why.
The only thing is, it comes out way too small to actually wear…
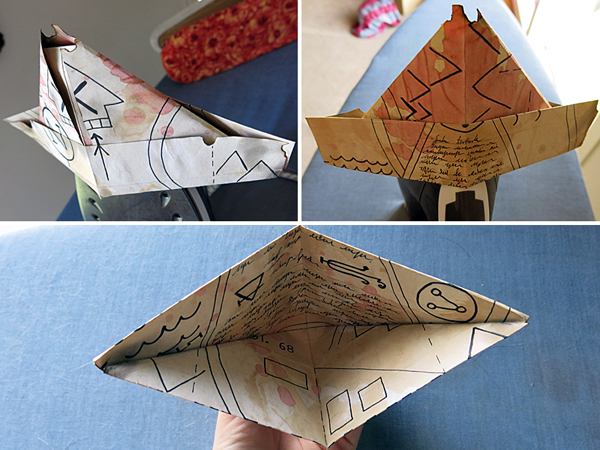
Not even child-sized, this is toddler at the very most, but probably closer to doll.
In order to be a functional headpiece it would likely have to be about twice the size as what I’ve done here. But then it wouldn’t have been able to fit inside the book quite so easily- which was kind of the entire point of making it in the first place.
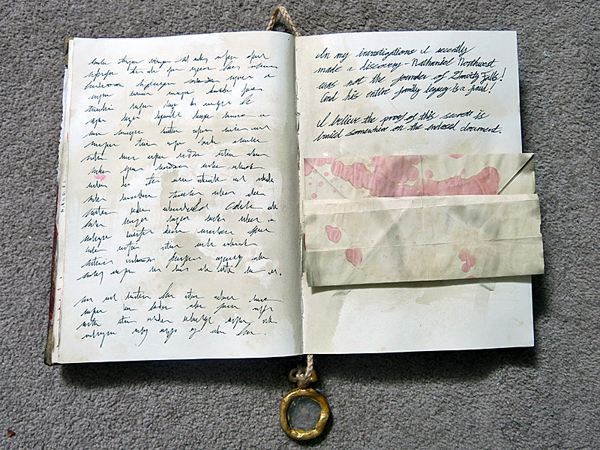
If anybody needs me I’ll be spending the rest of the night sitting awake in bed rethinking my life choices.
Sure, I could have just taped a blank piece of tattered paper in there, but… where would the fun in that be?!
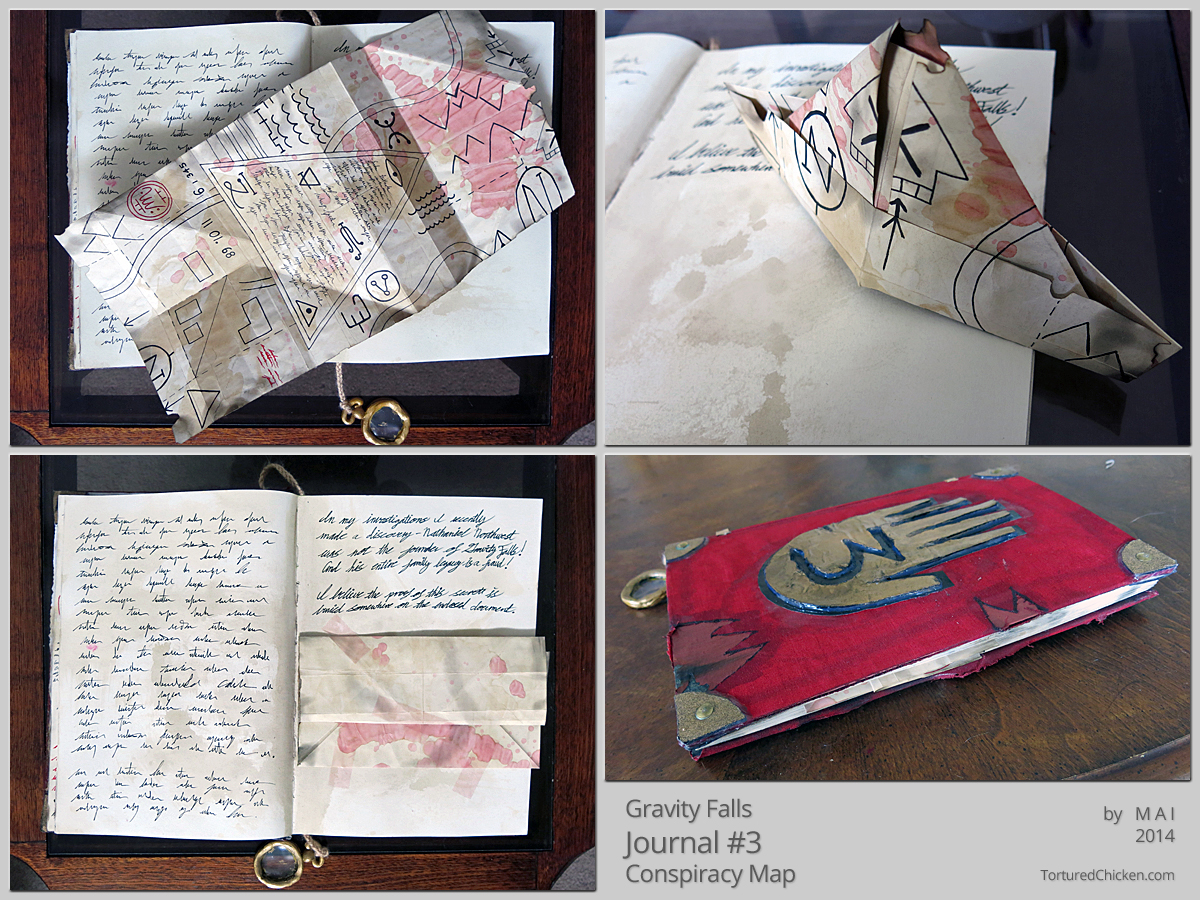
Rather than a straight-up clear tape I used one with a slight red hue, so it is more visible against the paper.
The pages in the rest of the book are coming along, finally, but still a while off from completion. In the course of this project I have come to the realisation that my handwriting is worse now than it was when I was five years old.
But that’s a story for another time.
