The goat portion of my goat costume has been completed! What else is there? Maybe some clothing if the time is available. Otherwise I’ll just go naked, like the Baphomet dig something out of the wardrobe.
To create the cloven hooves for the goat I used an old pair of stiletto heels which I really never wore (they were originally purchased for my Rosalina costume, and not of a style I was ever particularly taken with).
The first task was knocking the heel off, at which point it quickly dawned on me that I’d be needing some outside assistance, possessing neither the required space nor necessary equipment. So I lumped everything in a bag and busted on into my parents house.
With my father’s help the heels were removed fairly easily and platform blocks carved from pine wood to be affixed under the toe of each shoe.
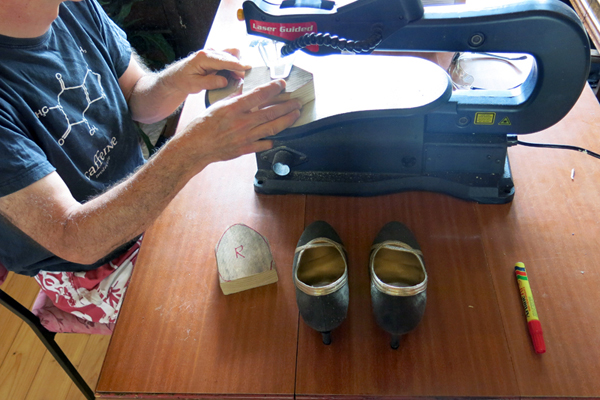
I don’t even bother with the pretence of not being a terrible child any more. They know why I visit.
Apparently pine is not the best choice (this is what my father tells me, I take his word because wood-facts are not my forté), as it can have a tendency to split when under too much pressure. Some kind of hardwood would be better.
However, pine is what was on hand and free of charge- did I mention that I haven’t specifically spent any money on this project? Everything has either been free or is scrap leftover from past projects. So, we found a solid slice of pine with no visible flaws, and since the costume will only be worn a handful of times, away from vigorous activities, I’m confident that the shoes (probably) shouldn’t self-destruct.
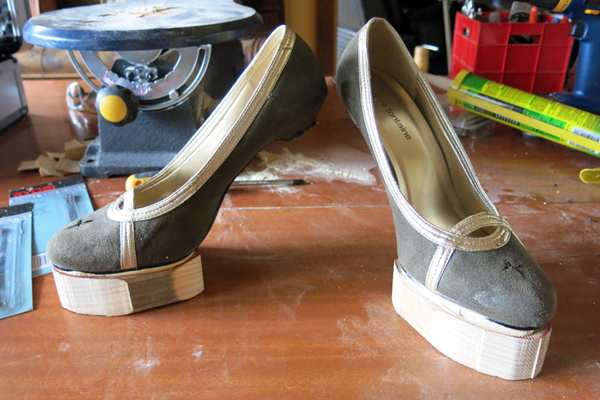
The small cross cut in the front of each shoe was for ease of attaching a screw at the point of the toe.
The pine was attached beneath the toe of each shoe through a combination of liquid nails and three screws (plus washers, to stop the screws from potentially damaging the soles. Cushioned inserts were placed over the screws/washers for comfort). The screws are attached in a triangle formation for stability; one at the point of the toe and two further back, either side of the ball of the foot.
They then needed to dry for about a day or so before thinking about the actual hoof part.
Before heading home from my parents place I nabbed another bag of wool for the hands and feet (since the first bag was entirely used up on the headpiece).
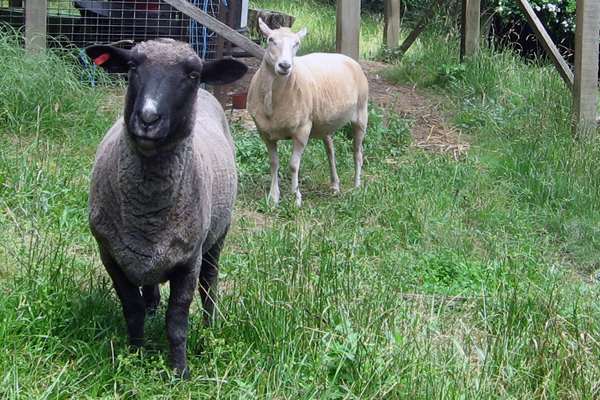
Helpersheep: Betty and Stella.
The hooves were sculpted around the pine blocks using my favourite versatile melty plastic; polycaprolactone (Plastimake).
When I was happy with the shape it was left to cool and harden overnight before being spray-painted black.
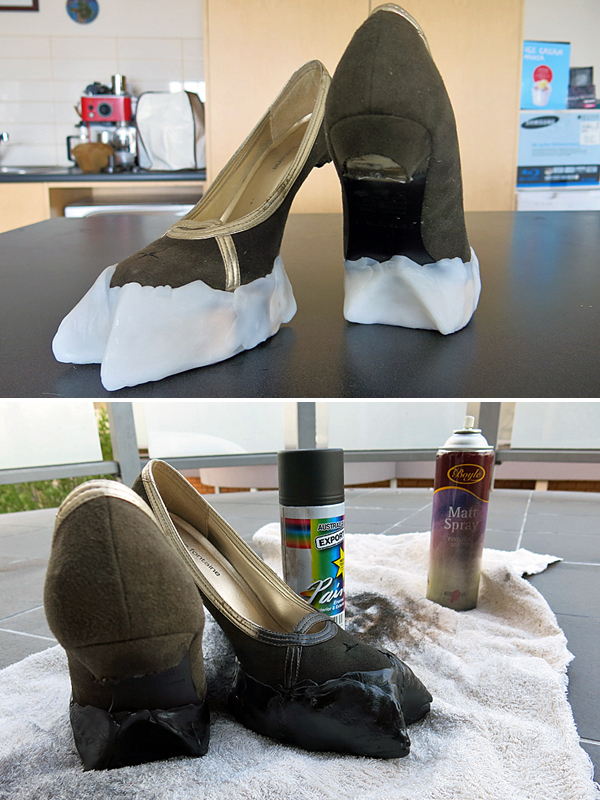
Cloven hooves sculpted and painted.
When the black paint was dry, white details were sponged onto the edges with acrylics. Once this was completely dry the hooves were sealed with a matte spray.
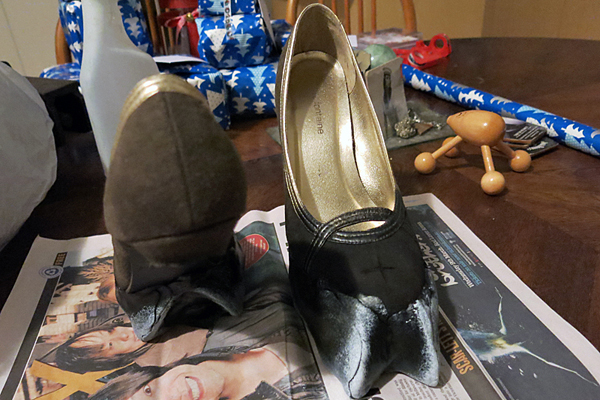
Cloven hooves with white detailing.
Next up was wool, but I’ll spare you the gruesome details because I think the felting procedure was pretty much covered while discussing the headpiece.
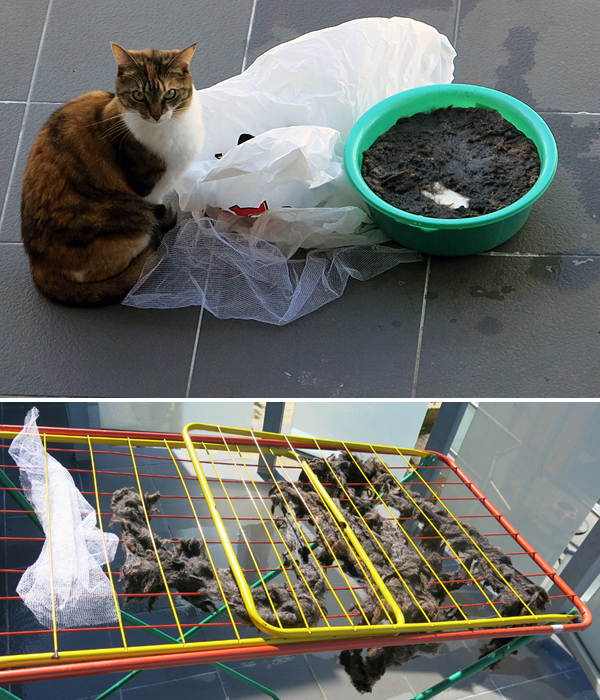
Helpercat™ felted the wool for me. She is legit the best.
It took a few days for the wool to dry but when it was done it was simply a matter of arranging the pieces around each shoe and fixing them in place with hot glue. Yet again, the same as the headpiece. But, y’know, feet instead of head.
An elastic strap was also added midway up the shoe at this point for stability.
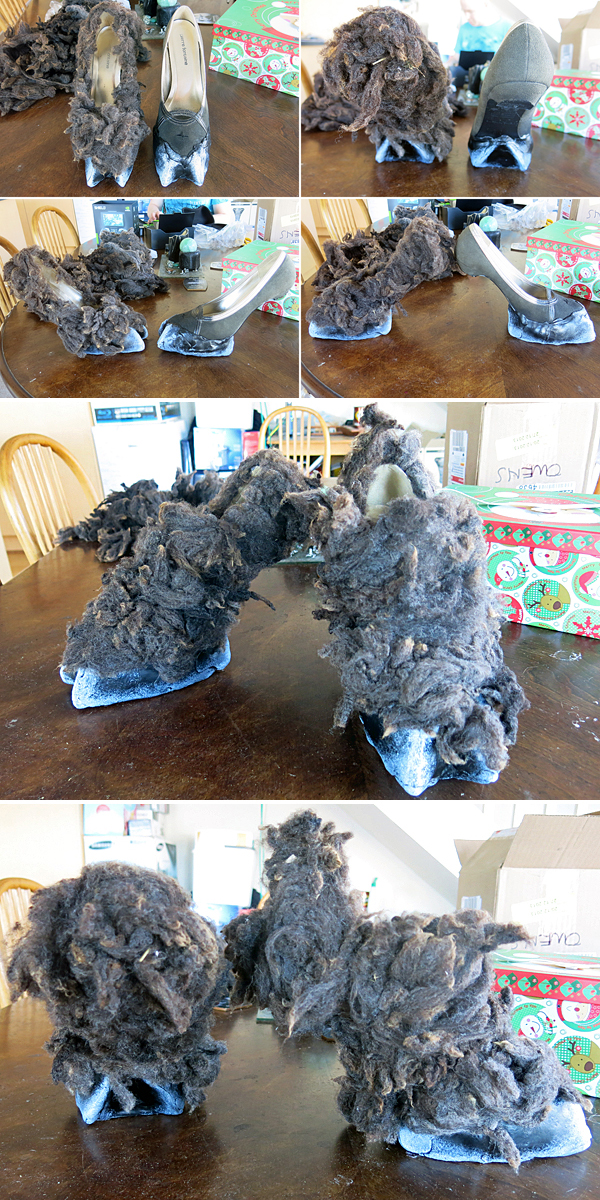
Applying wool felt to the shoes.
With the hooves done I threw on some black stockings, sponged some white highlights on with acrylic fabric paints and went for a quick walk.
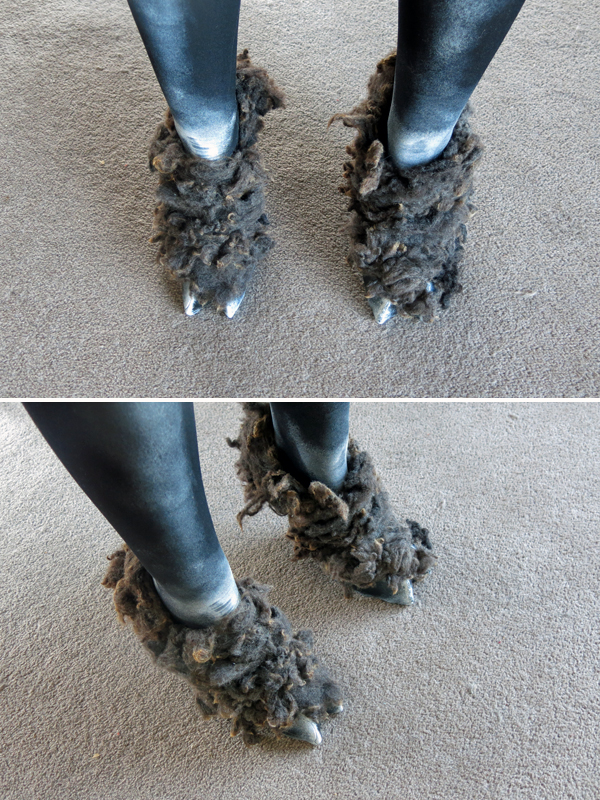
Photographing these while wearing them is incredibly awkward.
If you’re curious about how easy or comfortable they are to walk in, it’s basically like walking in a pair of stilettos. Yes, there is a lot of pressure on the toes; but there often is with high heels, particularly when the heel is a thin stiletto point. With the hooves you just need to keep in mind that there’s no heel to catch your fall if you decide to lean back too far.
Here is a quick video I took to show them in action:
For people concerned about stability and reinforcing the sole of the shoe: I did not bother, both because I’m running a tight schedule and to save costs. There are “heelless” shoes on the market which are much better balanced and reinforced than knocking the heels off stilettos (but also more expensive).
Digitigrade stilts would be a drastically better option in terms of stability, which also feature the added versatility of being re-skinable for multiple projects.
Oh yeah, armsocks and a tail!
The armsocks used the same method as these ones constructed for my Karkat Vantas (Homestuck) and Owen Wright (Maggot Boy) costumes, details of which can be read here. The only differences being that there is wool glued about the forearms and no dart in the wrists (as the wool holds everything in place).

The fingernails alternate being white base with black crackle or black base with white crackle and are sealed with a UV reactive topcoat.
Fun fact:
My incompetence, knowing no bounds, resulted in a series of superficial burns up both of my forearms. Remember, kids: hot glue is hot. Use a mannequin rather than yourself to pad items if they cannot be glued while flat.
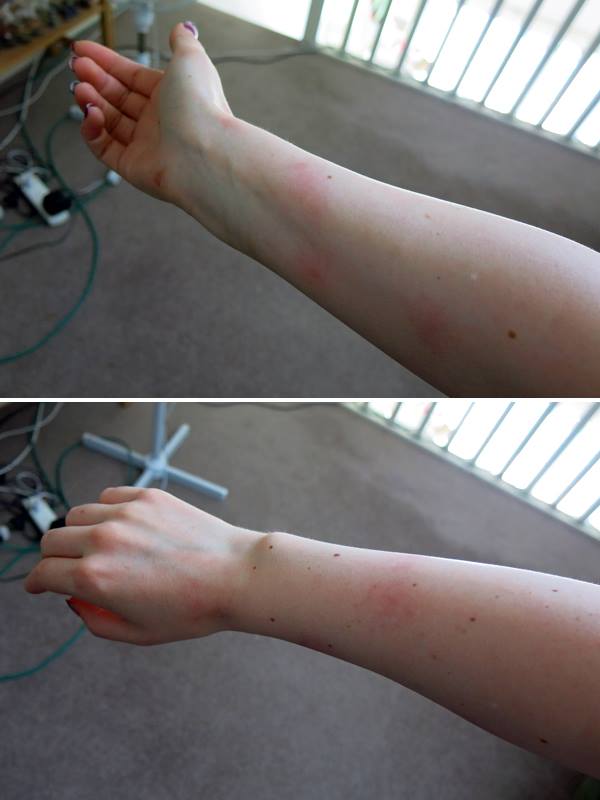
Don’t talk to me about OH&S.
The tail, on a more competent note, features a foam core, covered with leftover black and white faux fur underneath, and wool mats fixed on the top. It is lightweight and attaches to clothing simply via some strategically placed safety pins.
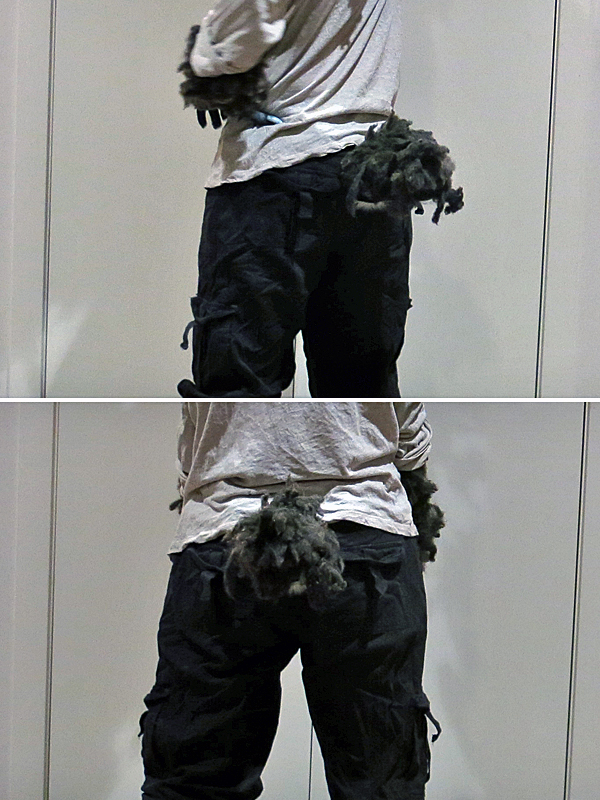
Puffy goat tail.
The completed goat is visible on the Clothing/Costumes/Crafts page in the gallery:
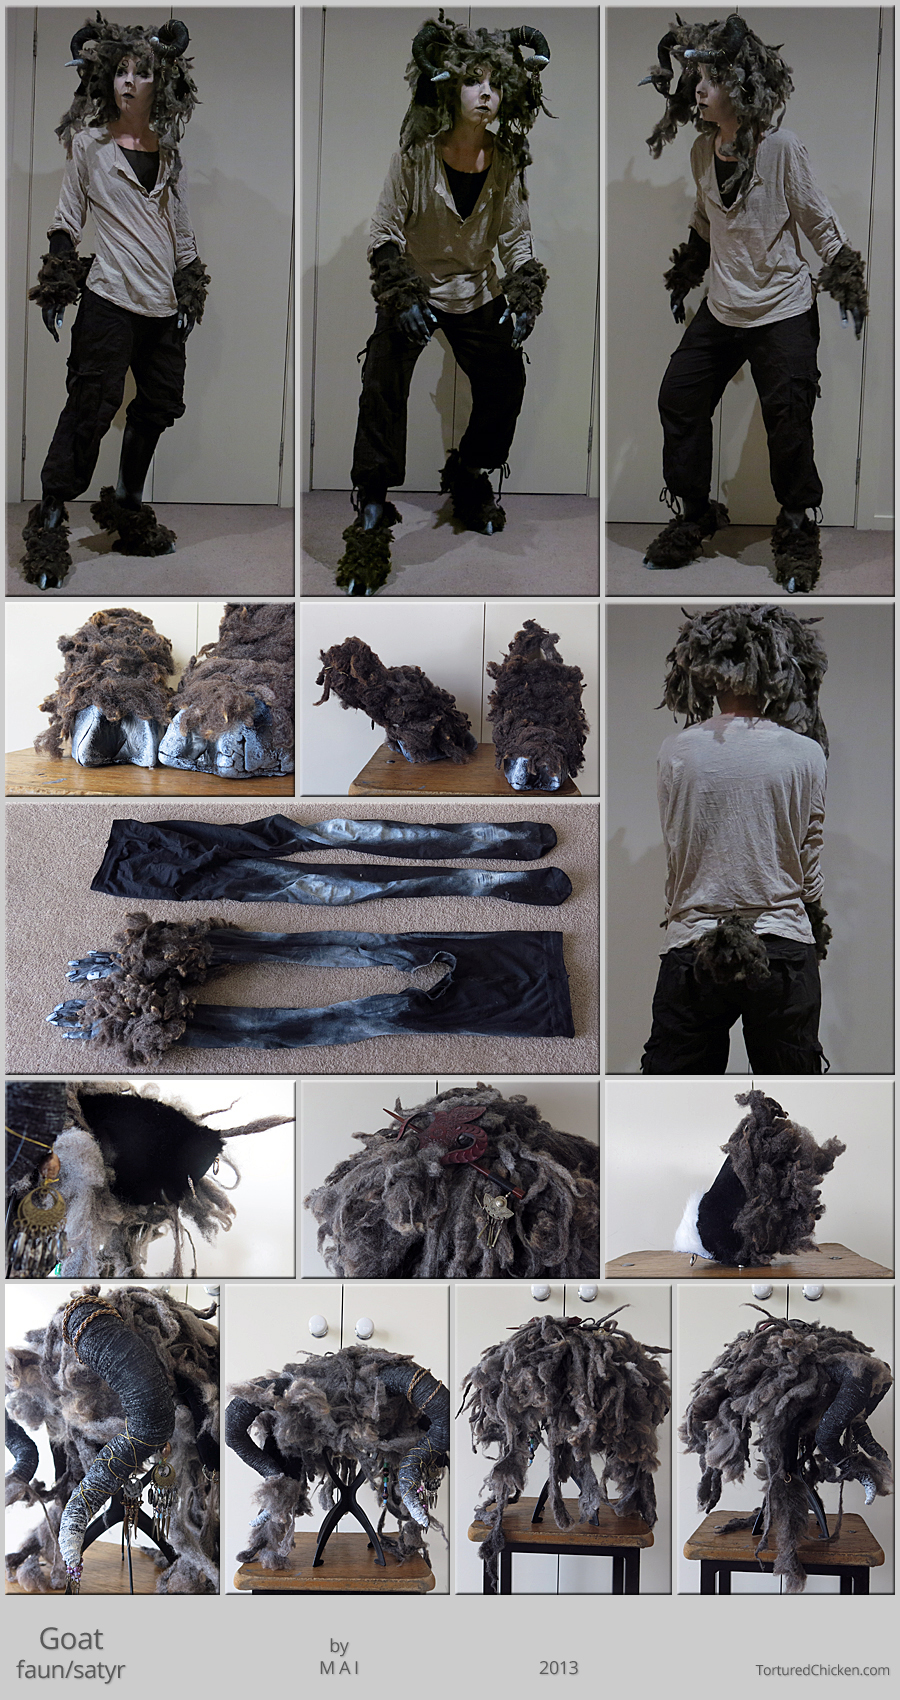
Clothing and make-up are not yet finalised.
If anybody is curious, the goat is not based on any specific character, but takes inspiration from satyr and faun type creatures (think: Pan’s Labyrinth, but significantly less cool).
