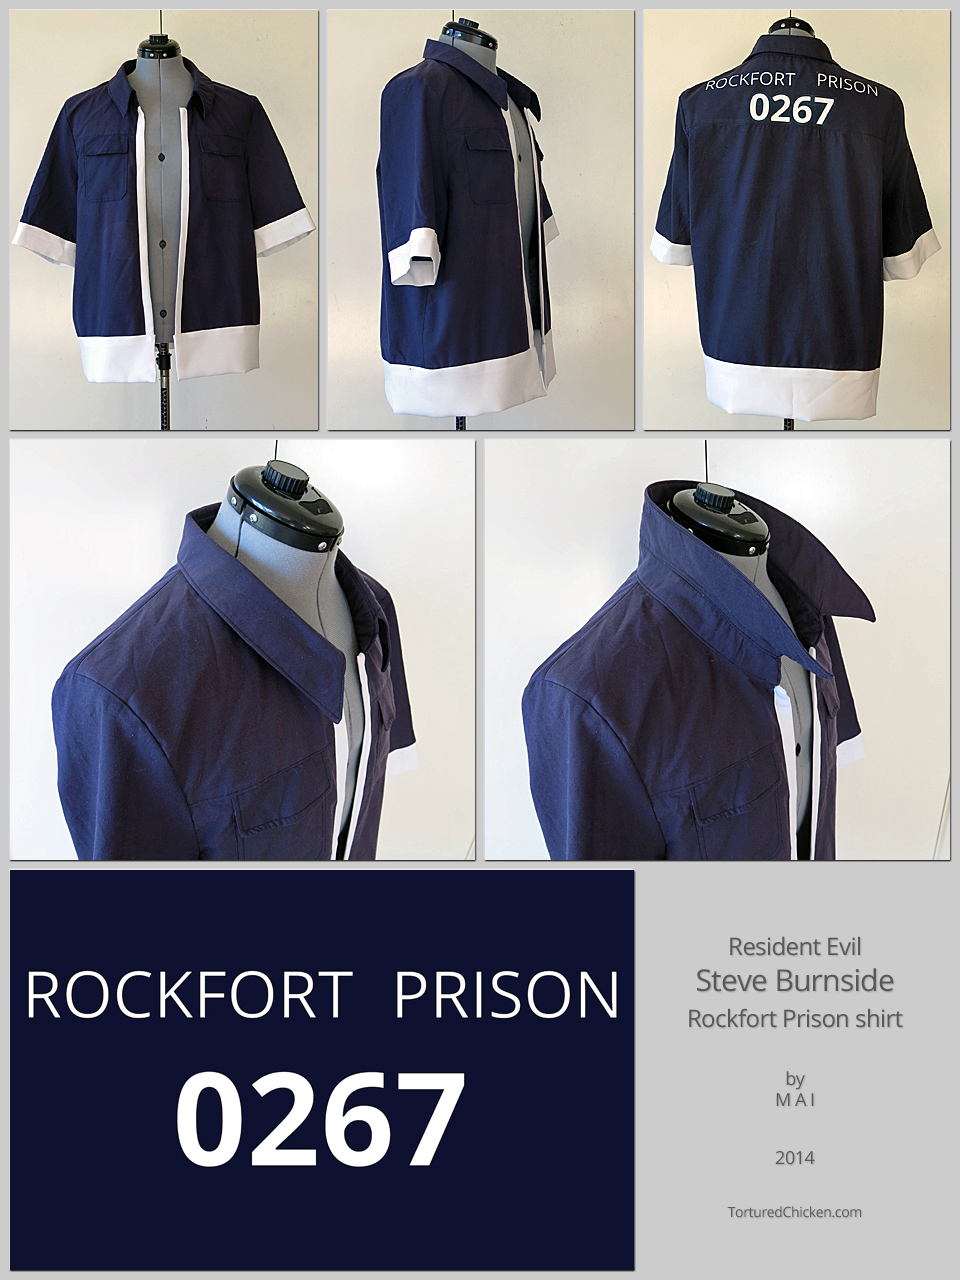
About a month ago it was my co-pilot’s birthday and I had this grand plan of putting together a Rockfort Prison shirt based on Resident Evil’s Steve Burnside for her because, well, we’ve been talking about it for ages without actively doing anything about it…
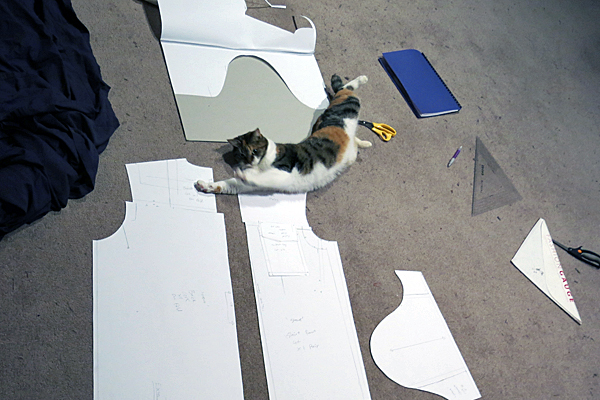
Helpercat™ drafted the patterns, I think you will find she did a very professional job.
Well, not entirely; at this point she pretty much has the rest of the costume together, and my Claire Redfield has been collecting dust for years, so it’s mostly just been a lack of organisation stopping us.
Unfortunately my plans for surprise were foiled upon realising that the shoulders were enormous and some updated measurements would be required.
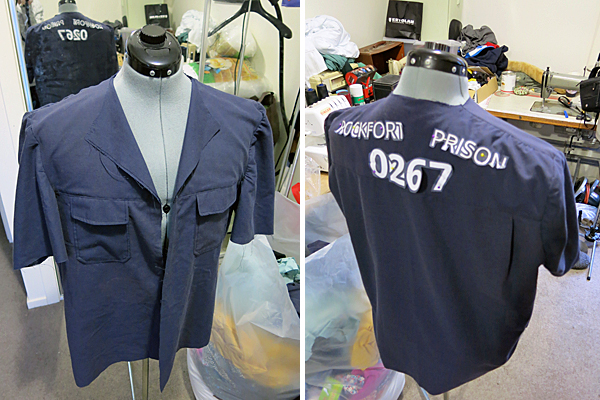
Proportion? What’s that?
So instead of surprise-cosplay, the gift of progress photos was shared along with a bottle of I-didn’t-get-you-a-real-present wine. Then some measurements were obtained and the project was able to proceed smoothly.
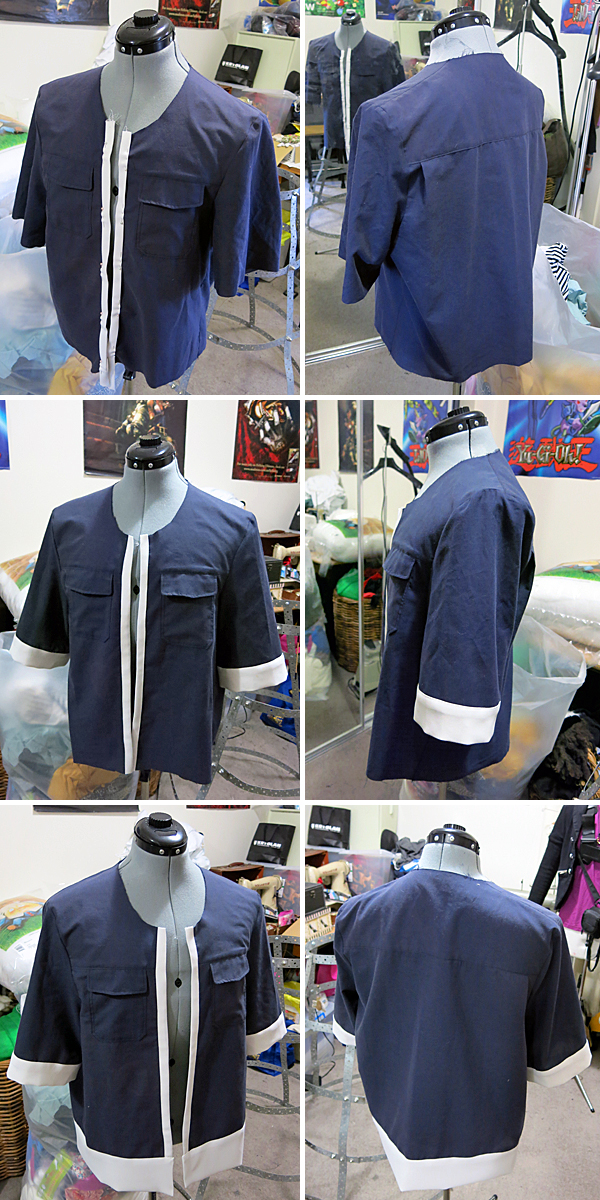
Now with sensible shoulders.
This was following the design used for Steve’s character in the Darkside Chronicles game, his design in the Code Veronica games does not feature the white trim (though my Claire costume is more closely resembles Code Veronica as Darkside Chronicles did not exist when I made it, but only certified nerds would pick-up on the discrepancies between our costumes).
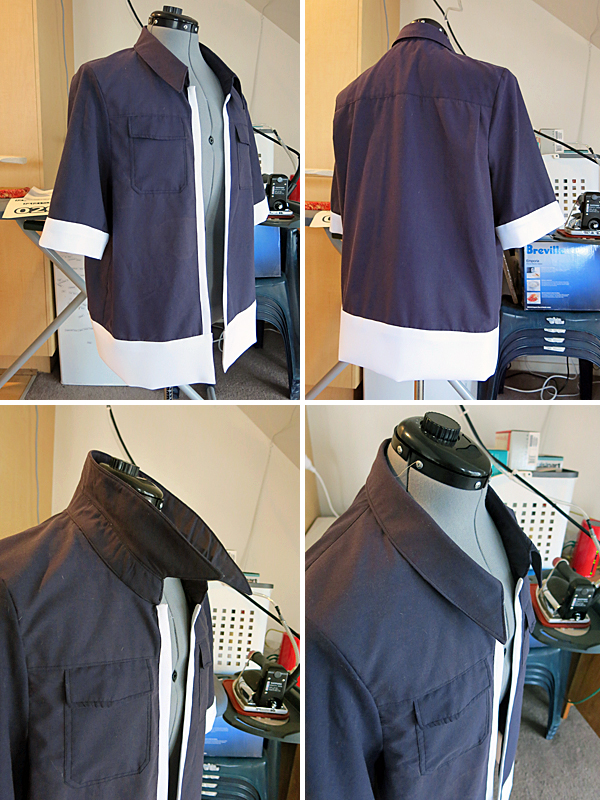
Regardless of what anybody says, we remain in firm denial of Steve’s untimely death.
The labels on the back were drawn up using vectors, each letter adjoined by a base colour similar to that of the shirt in order to minimise positioning by hand (which can be quite tedious and difficult). That way there were only three things to line up once the final was printed onto heat-transfer paper.
As a side note; working with the industrial iron is a dream, not relying solely on heat and steam- the weight of the device itself makes the application of transfers and fusings much faster, smoother, and overall more consistent.
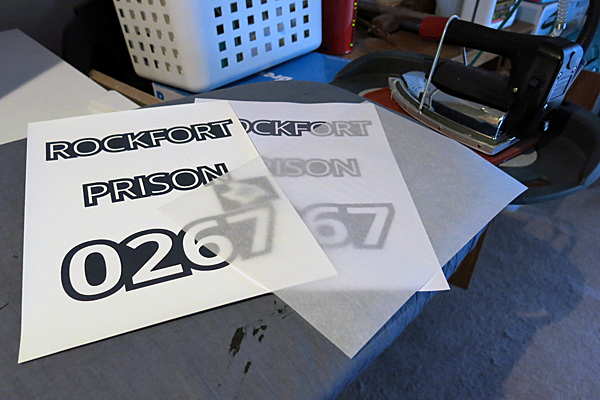
The transfer paper is the one for dark coloured fabrics, it does not need to be mirrored for printing as it peels off and applies like a sticker.
The fabrics used were second hand cotton shirtings in a navy blue and white, for that added look of tattered, over-washed, hand-me-down prison-issue clothing.
While the collar was fully interfaced in order that it can maintain it’s shape either folded or popped, I opted not to interface the rest of the shirt in maintaining the overused aesthetic- interfacing (particularly the lower quality ones associated with high-volume mass-production cost cutting) tends to deteriorate and peel away with extensive wear and washing.
Apparently I’ve been in a Resident Evil mood lately; when preparing to donate some clothing to charity an old Umbrella Corporation T-shirt was unearthed.
It was purchased at a convention years ago but being the last the vendor had in that style, was much too large for me. So I decided to alter it- except back then I didn’t know much about sewing and screwed up. It wasn’t really wearable after that, eventually being lost to the back of some long forgotten corner in the closet.
Upon rediscovery it seemed a waste to just toss it, but then I remembered a poor quality jacket of the mall-goth aesthetic I’d been meaning to alter. It somehow managed to have a lining that was simultaneously too long in the sleeves- spilling out the cuffs when pulled on- and too tight across the back causing the cheap satin to shred after the first use.
So the lining was removed, seams and raw edges overlocked, facings and pocket-bags hand-stitched down, buttons removed and buttonholes stitched closed (the buttons/holes were too large and far too close to the edge).
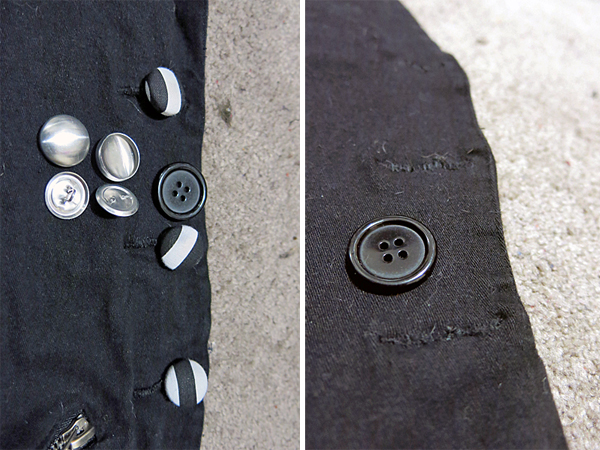
You can see here, how close the buttonholes were to the edge (the edges of the buttons themselves sat right at the edge of the jacket opening- buttonholes and the centres of each button should sit the width of the button away from the garment edge).
The Umbrella label was then cut to an appropriately rectangular shape and size from the mangled T-shirt, interfaced with a mid-weight fusing, and straight up stitched to the back of the jacket.
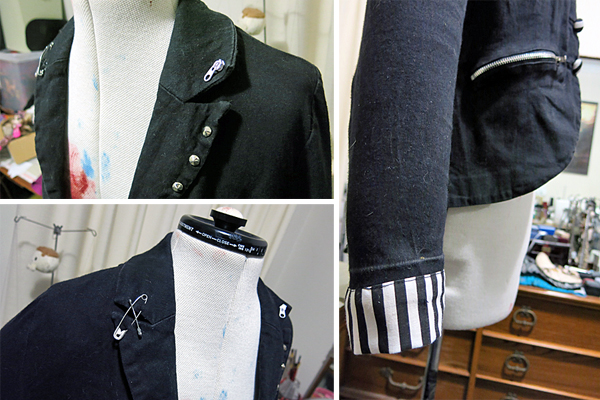
Zip toggle and pins were added to the collar for a bit of fun while the studs, zips, and random sleeve-belt were already featured.
Some black and white striped cotton was then interfaced with a mid-weight fusing and fashioned into cuffs (rather than just rolling them in, as the sleeves were a little too short for my tastes), while new smaller buttons were covered with the same striped fabric to be applied to the front, before stitching on the new buttonholes in white.
The buttons and their holes have also swapped sides- partly to cover the old button holes which had been stitched closed, and partly so that it now fastens in the male standard (left-over-right) in adherence to personal preferences.
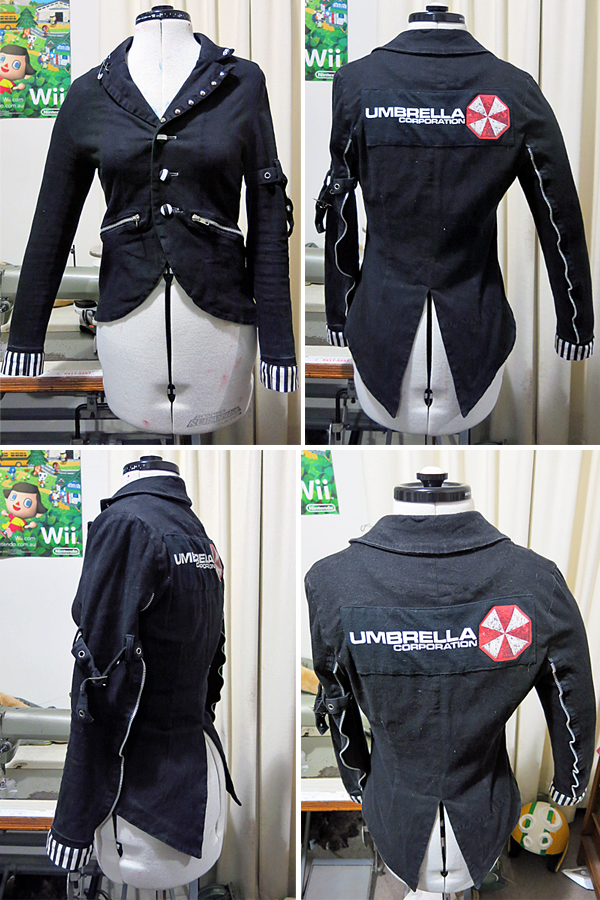
Unfortunately I don’t have any decent photos pre-alteration and didn’t think to take any during, but you get the idea.
Having worn the jacket out and about quite a few times now, I can tell you with some authority: it sure feels good to combine shitty mall-goth attire with videogames.

